How to Repair a Broken Electronic Circuit Board - A Step-by-Step Guide
If you're a professional electronic technician, then you know that repairing and replace a broken electronic circuit board is not always as easy as it seems. In this step-by-step guide, we'll walk you through the process of repairing a broken circuit board - from identifying the problem to fixing it. So, whether you're a beginner or an expert, this guide has something for everyone. Let's get started!
You've just gone through your old circuit board and found that there's a broken trace. What do you do? Even if the circuit is no longer working, it can still be repaired.
The main concept of any electric circuit is that electricity always takes the path of least resistance (this statement might be wrong but it's how all circuits work). When your device breaks down, it usually occurs because the flow of electricity through one of these paths changes or stops completely. This guide will show how to rewire an entire board using basic tools and minimal soldering.
This is not a hard task if you know what you're doing and have done it before. If you've never repaired an electronic device before, I do not recommend that you try this; instead find someone knowledgeable in the repair process to help you! That being said, let's get started…
Step 1: Find The Problem
When your device breaks down usually there will be one (and only one) major problem with what broke. For example, when I turned my Game-boy upside-down and shook it violently while playing Mario Land, the contacts between the battery and the circuit board broke loose. This caused a short-circuit problem which required soldering to fix.
I believe there is a problem with my circuit board, but I'm not entirely sure where. This is the first step to determining the problem. Look closely at your device and you should be able to tell exactly what needs repairing.

Step 2: Identify Components
Let's start with a list of common components found on most circuit boards (I will refer to each component by its common name unless otherwise stated):
-LED (Light Emitting Diode): A light source for this type of electronic device (for example, when you press certain buttons on your phone it might light up)
-Resistor: A component that reduces current flow in a circuit; there are many types and sizes but generally they look like small cylinders or rectangles
-Capacitor: A circuit element that stores charge; usually looks like a small cylinder with two lines on the side (in my experience)
-Diode: A component that allows current to flow in only one direction (see picture below); often used when you need power to flow through one wire but not another
I believe that the problem in my device is either with the resistor(s) or capacitor(s). I will check each of these components and determine whether they are working properly or not. Any electronic device can be fixed by Professional electrician.
Step 3: Test for Proper Function
To diagnose which part of an electronic circuit isn't working, there are a few simple tests you can do to find the problem. I will use my device as an example:
First, check that there is electricity going into your circuit board. This usually means that the power cord/battery is plugged in properly and you have power to your unit. To check this, turn on your electronic device and either use a multi-meter or look for any lights (for example, phone screens sometimes light up when it detects touch). If there isn't any electricity going into the circuit board then the problem lies elsewhere. In my case, I know that the battery was not plugged in all of the way because one side of it was sticking out and no longer snug inside its compartment. With this information we can now take a look at the circuit board and figure out where the problem lies.
Step 4: Troubleshooting Circuit Boards
The components that I will check are either capacitors or resistors because I'm fairly certain that they are broken or out of place. Resistors can generally be placed back into their correct position after bending them a little bit, but a capacitor is going to need some soldering to get it going again. Do not attempt to bend any component if it doesn't feel like it's supposed to! If you're not an expert then take your device apart and let someone who is handling this step for you.

To troubleshoot the circuits on my circuit board, I first start by using my multi meter (a must-have for this type of task). You can buy a cheap multi meter at Radio Shack or any other general electronic store. This is the second picture that I took while troubleshooting my device.
If you don't have a multi meter (and aren't willing to spend the money on one), then turn your game boy on and let it sit like that for about 10 seconds. Then, look closely at the circuit board looking for any bulges or charred components; if anything looks out of place then you will need to take your device apart (again, unless you are experienced with soldering, which is beyond the scope of this article).
Step 5: Replacing Components
After determining which components need to be replaced and successfully removing them, it's time to find replacement components. You can find replacement components by visiting any electronics store (though I recommend visiting a place with a knowledgeable staff such as Radio-shack). When you get there, ask the salesperson for help in finding what you need.
After locating the correct part, remove it from its package and compare it to an unbroken component on your device to ensure that they're the same type of component and will work properly after installation (see picture below). Now we can simply insert our new component back into its socket and put everything back together!
Step 6: Putting Everything Back Together
Even if you've never taken apart your device before, putting everything back together should be fairly easy. Note that it will take some time to put your device back together so don't rush! If you have any helpful tips or advice for this step, feel free to leave a comment below.
Conclusion: We hope that this step-by-step guide was helpful and that you are now able to repair your own electronic circuit boards. If you have any questions or need help repairing a specific board, please do not hesitate to reach out to us for assistance. Thank you for reading!
Author Bio:- Robert Wong
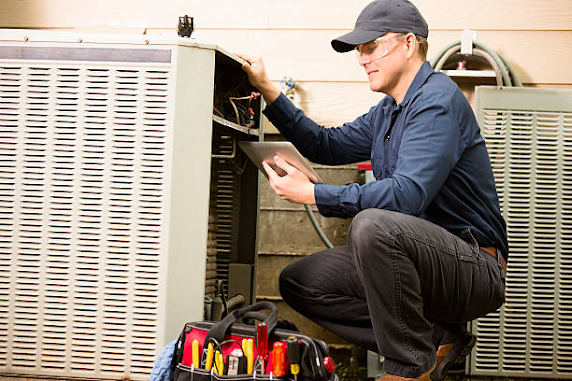
Robot is a marketing manager at EZ Electric. He has an interest in writing articles related to HVAC installation, maintenance, and repairs. The HVAC system has made our life convenient regardless of the climatic changes. Read Robot’s articles to know step-by-step installation guide for ceiling fan, smoke detector, lighting and electrical appliances in California as well as how to repair them in case of malfunctioning or breakdown.

Comments
Post a Comment