DIY Air Conditioning Repair: Setup Steps For Beginners
Summertime means hot weather and for many people, that also means turning on the air conditioner. But what happens when your AC unit breaks down and needs repair? Rather than for professional air conditioner services, you can actually do the repairs yourself with a little bit of guidance. In this blog post, we'll provide you with some basic setup steps to help get you started on your DIY air conditioning repair journey. So don't delay – read on to get started!

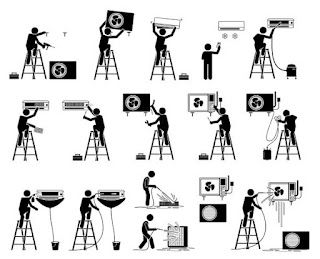
The air conditioner is a very common appliance found in many homes and office buildings. Studies show that over 90 percent of American households have an air conditioning unit. Regardless if you have central or window style A/C, they all have the same basic parts including the condenser, evaporator, compressor, electrical components and more. In this article, we are going to go over the setup of a typical window air conditioner.
1) Turn off power to the unit: Make sure you turn off the air conditioning before doing any work or repairs. Shut down your thermostat or manual switch. When checking out an existing window unit, make sure the power is off to it. If not, you could receive a potentially fatal shock.
2) Check the installation requirements: Make sure your window unit fits through your window opening before you purchase it. Measure both width and height of the window to ensure proper fitment. An oversized unit will not function properly or even fit into its cabinet. Each window air conditioning unit is designed for a specific size of window. The wrong size unit will not perform correctly and may even damage your home while operating.
3) Connect the window panel: Most new A/C units come with an exterior mounting kit that consists of several brackets, screws and metal stud bars to attach to the wall of the window. Make sure the fasteners are tight enough that they will not shake loose during operation of your window unit. Also check to see if there is proper insulation behind the metal frame where it meets your window sill. If this area does not have any insulation, make sure you install some to prevent heat loss between the inside and outside of your home or office.
4) Attach electrical components: After installing the window panel, you can attach all of your electrical components to the unit including the power plug, thermostat wire and any other cables which may be included (light kit, etc.). Make sure that all cables are pushed through their proper conduit holes in order to reduce the risk of fraying and other electrical hazards.

5) Fill coolant and charge the unit: Most newer model air conditioning units come with a factory sealed refrigerant system so you will never have to refill the unit yourself. If your existing air conditioner has an open service port, do not attempt to open it or you may release the entire charge of R-22 refrigerant and render your entire A/C useless. Also, make sure the professional electrical contractor on the exterior of the unit and all internal components (i.e. capacitor, relay switches) are clean and free from corrosion before you start this step.
6) Check for leaks and test the system: After you have re-connected all of the electrical components, you should check for any leaks in your system. To do this fill the cooling lines with soapy water and turn on your A/C. If bubbles are present, you have a leak which needs to be repaired before you use your unit. The soapy water will travel through the tubing and condense on the evaporator fins, thus showing the spot where the leak is if it is present. When checking for leaks you should also place something under your A/C to catch any coolant spills because coolant tends to have a very pungent odor and can be harmful or fatal if consumed.
7) Turn on power to the A/C: Now that you have completed all of your repairs and made sure that there are no leaks or other problems, you can turn on the power to the A/C unit and set your thermostat. Make sure before you do this that all of your connecting cables are still working properly and have not been damaged during the installation process.
Conclusion: If you are feeling comfortable with the idea of repairing your air conditioning unit, there are a few more setup steps that you will need to take before you can actually start the repair process. Make sure that you have read and followed all of the instructions in our previous blog posts, and then contact us EZ Eletric for help. Our team is available 24/7 to answer any questions or walk you through the repair process step-by-step. We want to make sure that your experience repairing your AC unit is as easy and stress-free as possible, so don’t hesitate to reach out if you need assistance. Thanks for following along with our DIY series!
Author Bio:- Robert Wong
Robot is a marketing manager at EZ Eletric. He has an interest in writing articles related to HVAC installation, maintenance, and repairs. The HVAC system has made our life convenient regardless of the climatic changes. Read Robot’s articles to know step-by-step installation guide for ceiling fan, smoke detector, lighting and electrical appliances in California as well as how to repair them in case of malfunctioning or breakdown.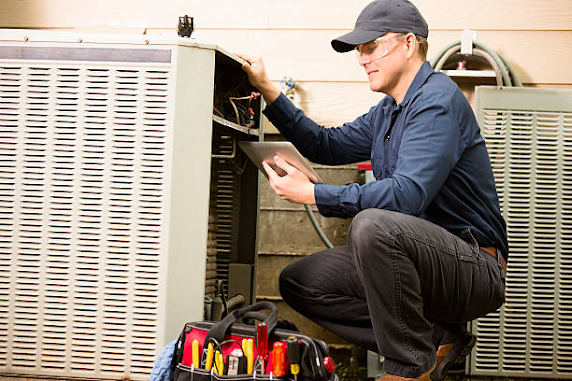

Comments
Post a Comment